7 Dusting Mistakes You’re Making (and What to Do Instead), According to a Cleaning Pro
Dusting might seem like a simple chore, but if you’re not doing it correctly, you could be wasting time and effort—or even making the problem worse. From using the wrong tools to skipping key areas, common dusting mistakes can leave your home less than sparkling. To help you dust like a pro, I’ve compiled seven common dusting mistakes and the expert-recommended fixes. Let’s dive in and make your dusting routine more effective!
1. Using a Feather Duster
Mistake:
Feather dusters often just spread dust around instead of removing it.
What to Do Instead:
- Use Microfiber Cloths: Microfiber traps dust and prevents it from resettling.
- Dampen the Cloth: Lightly dampen the cloth with water or a cleaning solution to capture more dust.
2. Dusting After Vacuuming
Mistake:
Dusting after vacuuming means you’ll have to vacuum again to pick up the dust that falls to the floor.
What to Do Instead:
- Dust First: Always dust surfaces before vacuuming or mopping.
- Work Top to Bottom: Start with higher surfaces and work your way down to the floor.
3. Skipping Hidden Areas
Mistake:
Focusing only on visible surfaces leaves hidden areas like baseboards, ceiling fans, and light fixtures dusty.
What to Do Instead:
- Create a Checklist: Include often-overlooked areas like vents, blinds, and behind furniture.
- Use the Right Tools: Extendable dusters and vacuum attachments can help you reach high or tight spaces.
4. Dusting with a Dry Cloth
Mistake:
A dry cloth can just push dust around instead of capturing it.
What to Do Instead:
- Dampen Your Cloth: Use a slightly damp microfiber cloth to trap dust effectively.
- Spray Cleaning Solution: For stubborn dust, lightly spray surfaces with a gentle cleaner before wiping.
5. Ignoring Electronics
Mistake:
Electronics like TVs, computers, and gaming consoles collect dust but are often overlooked.
What to Do Instead:
- Use Specialized Tools: Use anti-static wipes or a microfiber cloth designed for electronics.
- Unplug First: Always unplug devices before cleaning to avoid damage.
6. Dusting Too Quickly
Mistake:
Rushing through dusting can leave behind streaks and missed spots.
What to Do Instead:
- Take Your Time: Work methodically and pay attention to detail.
- Use Circular Motions: Wipe surfaces in small, circular motions to ensure thorough cleaning.
7. Forgetting to Clean Your Tools
Mistake:
Using dirty dusting tools just spreads dust and grime around.
What to Do Instead:
- Wash Microfiber Cloths: Launder microfiber cloths after each use to remove trapped dust.
- Shake Out Dusters: Shake out or vacuum dusters to keep them effective.
Tips for Effective Dusting
- Dust Regularly: Aim to dust at least once a week to prevent buildup.
- Use the Right Products: Choose cleaning solutions that are safe for your surfaces.
- Work in Sections: Tackle one room or area at a time to stay organized.
When to Call a Professional
While dusting is a manageable DIY task, there are times when professional help might be needed:
- If you’re dealing with severe dust buildup or allergies.
- If your home has high ceilings or hard-to-reach areas.
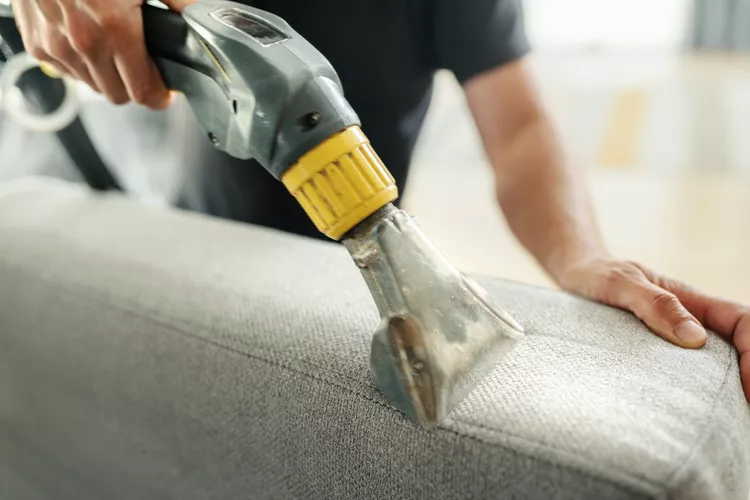
- If you need a deep cleaning that includes carpets, upholstery, and air ducts.
By avoiding these common dusting mistakes and following the expert tips above, you can keep your home cleaner and healthier. With the right tools and techniques, dusting can be quick, effective, and even satisfying.