How to Clean a Bathroom Exhaust Fan the Right Way: A Step-by-Step Guide
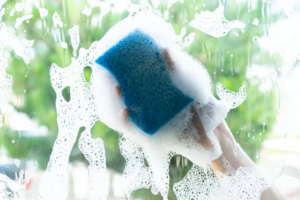
A bathroom exhaust fan is essential for removing moisture and odors, but it’s often overlooked during cleaning routines. Over time, dust, dirt, and grime can build up, reducing its efficiency and even posing a fire hazard. Cleaning your exhaust fan regularly not only improves its performance but also extends its lifespan. In this guide, I’ll walk you through the steps to clean your bathroom exhaust fan the right way. Let’s get started!
Tools and Materials You’ll Need
Before you begin, gather the following tools and materials:
- Screwdriver
- Vacuum with a brush attachment
- Microfiber cloth
- Mild detergent or all-purpose cleaner
- Warm water
- Old toothbrush or small brush
- Replacement filter (if needed)
- Safety goggles and gloves
Step 1: Turn Off the Power
- Locate the Circuit Breaker: Find the circuit breaker that controls the bathroom exhaust fan and turn it off.
- Test the Fan: Flip the fan switch to ensure it’s no longer receiving power.
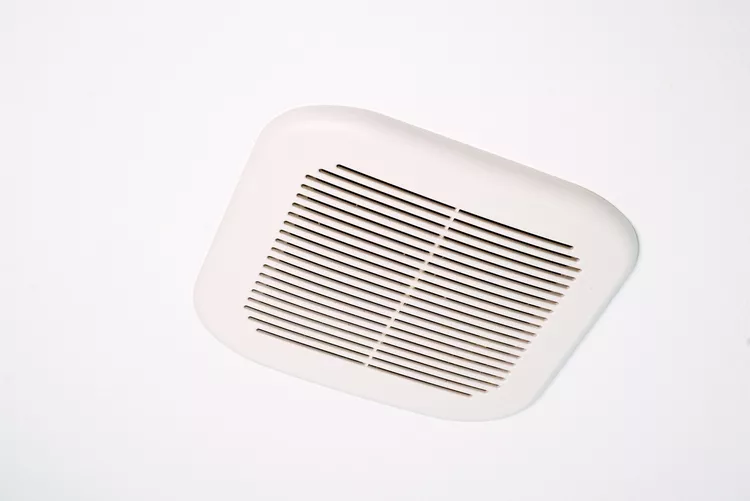
Step 2: Remove the Cover
- Unscrew the Cover: Use a screwdriver to remove the screws holding the fan cover in place.
- Gently Pull the Cover Down: Carefully detach the cover from the ceiling. Some covers may have clips or springs, so be cautious.
Step 3: Vacuum the Fan and Cover
- Vacuum the Cover: Use the brush attachment on your vacuum to remove dust and debris from the fan cover.
- Vacuum the Fan Blades: Carefully vacuum the fan blades and surrounding area to remove loose dirt.
Step 4: Clean the Cover
- Wash the Cover: Fill a sink or bucket with warm water and a mild detergent. Soak the cover and scrub it with a microfiber cloth or old toothbrush.
- Rinse and Dry: Rinse the cover with clean water and dry it thoroughly with a towel.
Step 5: Clean the Fan Blades and Housing
- Wipe Down the Blades: Use a damp microfiber cloth to wipe down the fan blades. For stubborn grime, use a mild cleaner.
- Clean the Housing: Wipe the inside of the fan housing with a damp cloth. Use an old toothbrush to reach tight spaces.
Step 6: Replace or Clean the Filter
- Check the Filter: If your fan has a replaceable filter, inspect it for damage or excessive dirt.
- Replace or Clean: Replace the filter if necessary, or clean it by vacuuming and washing with mild detergent.
Step 7: Reassemble the Fan
- Reattach the Cover: Secure the clean cover back onto the ceiling with screws.
- Turn the Power Back On: Restore power to the fan by flipping the circuit breaker.
Tips for Success
- Clean Regularly: Aim to clean your exhaust fan every 3–6 months to prevent buildup.
- Use Safety Gear: Wear safety goggles and gloves to protect yourself from dust and debris.
- Check for Damage: Inspect the fan motor and wiring for signs of wear or damage. If you notice any issues, call a professional.
When to Call a Professional
While cleaning your bathroom exhaust fan is a manageable DIY task, there are times when professional help might be needed:
- If the fan is hardwired and you’re uncomfortable working with electrical components.
- If the fan motor or wiring is damaged.
- If the fan is not functioning properly after cleaning.
By following this guide, you can keep your bathroom exhaust fan clean and functioning efficiently. Regular maintenance will not only improve air quality but also extend the life of your fan.